How to Design a Newsletter in Word: Top Tips for Success
Try Publicate For Free Today
Start Now
Newsletters are a great way to share important messages with your employees and customers alike. The balance of design and copy make for a striking way to capture attention and get your point across. So, if you’re looking for how to design a newsletter in Word, then you’ve come to the right place.
Once you see the many steps and considerations you have to keep in mind when using a word processor like Microsoft Word, you’ll discover that using a web-based email builder is actually a much easier choice.

Pro Tip
Now you have plenty of ideas, its time to start creating your own newsletter. There's no better newsletter builder than Publicate. Try Publicate for Free!

If you have access to Microsoft Word, you can use it to create and design a newsletter. You can either choose to design the layout from scratch (which can be quite time consuming) or you can select from an array of existing templates.
Here’s what you will need to do to create a newsletter in Word using a template:
Open Microsoft Word and click on the “New” tab and type “newsletter” in the search bar to locate the templates. Some free newsletter templates will appear.
When you find the template that is suitable for your newsletter, select it and a dialogue box will appear. Click on “Create.” Then, any of your chosen editable newsletter templates will load in your Word editor.
Now, it’s time to put on your creative hat. Depending on what you want to adjust within the existing template, you can use the editor box to make changes.
You can replace text, change the font size and style, add images, change background colors, and more. (Keep in mind that if you are going to export your newsletter into email, then it will render using HTML.)
You’ll need to make sure that your font choices are web-ready. You’ll also have to make sure that the layout and any multimedia you choose to add will show up as you see it in Word because it’s not always the case once it’s input into an email service provider.
When you are satisfied with the outcome of your newsletter, you can decide how you want to share the message.
If you are sending the newsletter by mail or distributing it in person, you’ll simply need to print it (but, as you know, print is not typically the first choice these days for obvious reasons). The more common distribution method for newsletters is email. And, that adds a whole different set of steps to your to-do list with Word.
Check out this guide from Microsoft for how to export your newsletter templates into email. As you’ll see, it can become complicated quickly and often result in a less than optimal user experience.
For example, the newsletter may need to be sent as an email attachment in either a PDF or XPS version. This should raise some red flags because if the reader doesn’t have the technical support and ability to download an attachment in the first place, then you’ll never be able to deliver your email newsletter (the one you just spent all that time to create).
Plus, reading a PDF on a mobile device isn’t anyone’s favorite scenario.
Alternatively, you can skip all the red flags and use a newsletter template builder that provides for a more seamless experience and requires way less steps.
Web-based email builders like Publicate help you to create beautifully designed emails in no time. They come equipped with a diverse range of email newsletter templates that are built with email best practices.
This means when you do export your newsletter to send to a mass or small audience, you can have confidence it will be delivered the way you intended and have the highest chance of engagement.
Bonus
Drag and drop rich media, like images and videos straight into your email newsletter. Try Publicate for Free!
Perhaps you have a lot of experience working with Microsoft Word, which is why you selected it to create newsletters. However, once you get started using Word for this purpose, you may want a solution that is purposefully designed for newsletters.
For starters, in Word, you’ll have a limited amount of templates to choose from. If you can’t find a template well-suited for your need, you’ll have to create your own layout, by manually inserting columns and tables into the word processing’s blank page.
If you’ve ever used Word to create a simple document, you already know how frustrating these seemingly simple “insert” functions can become. Furthermore, for a newsletter, you may want to include engaging and dynamic content, such as through the use of multimedia like video. But, with Word, you can’t embed video content directly. That’s just the tip of the iceberg…
Rather than going into every downside (for time’s sake), let’s talk about the benefits of a newsletter template builder as they provide your optimal solution.
A newsletter template builder like Publicate makes it easy to:
A newsletter builder like Publicate allows you to use your favorite content across the web to curate and share within your newsletter. The email builder provides access to over 2 million royalty free images to spruce up your newsletter design with photos.
You can also ensure that your emails will render properly across all devices. Plus, with saved styles and the brand kit, you can automate the time you’d have to otherwise spend branding the email with your company’s branding.
So, by now, you’re probably wanting to know how you create a newsletter in Publicate as you’ve come to understand how to design a newsletter in Word (and it wasn’t pretty).
It’s as simple as 1, 2, 3:
That’s really all there is to it. Publicate’s email builder was designed to make it intuitive and simple to create newsletters and publications that look as good as if they were designed by a professional graphic designer.
To make your newsletter engaging, you can choose to incorporate GIFs, videos, and photos into your newsletter from the email builder itself. After adding any multimedia of your choice, Publicate will scrape the media to make sure that it renders when the email gets sent.
After you’re done editing and designing the newsletter, you can export your HTML email to send it using Gmail, Outlook, or any email provider of your choice.
You’ll also receive the analytics once you send your email so you can track important metrics and make adjustments if need be to increase the engagement with your newsletter.
On your newsletter creation journey, it helps to have inspiration along the way.
Check out some of our favorite newsletter examples below to spark ideas for content:
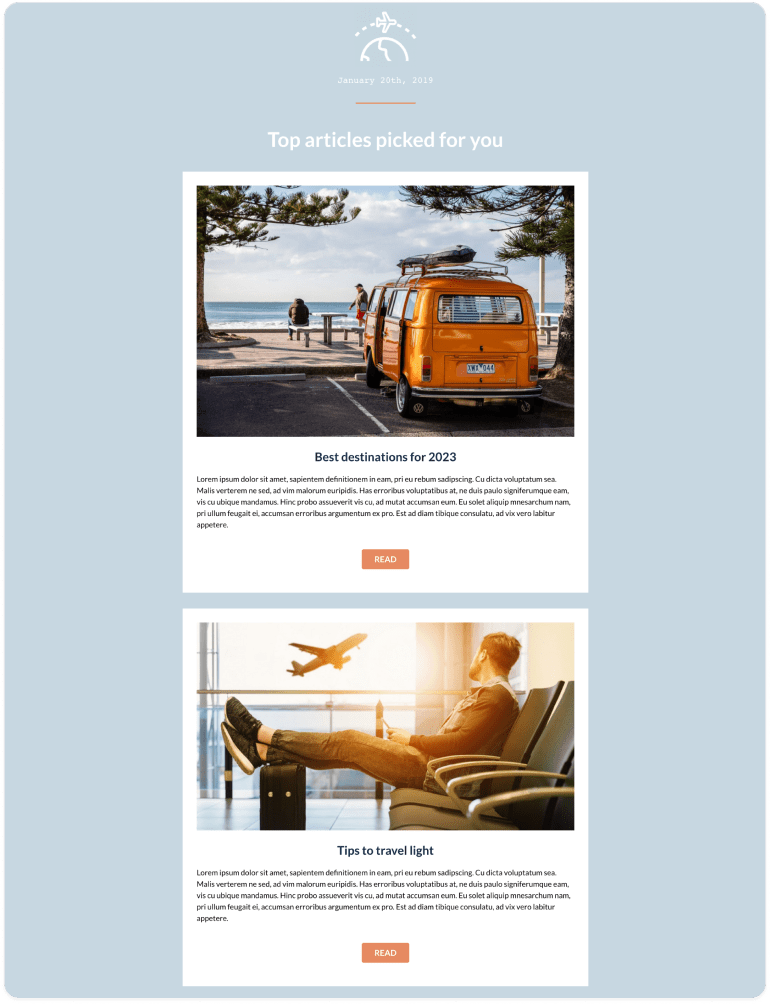
For industry news or top blog articles from your own company, it’s always fun to spread the word. This template balances imagery with a brief summary of the content you are sharing. The clear CTA to continue reading makes it easy for your audience to click-through should they be interested in reading the entire article or post.
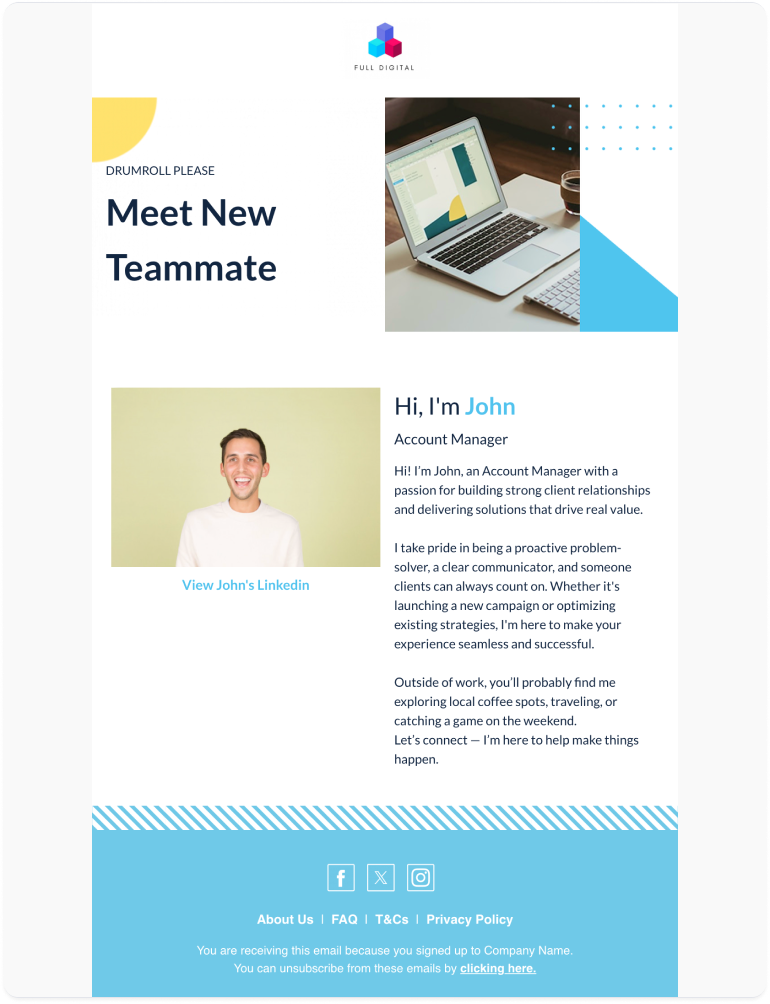
Keep your team in the loop of new hires and help to make the new faces feel a part of the team! New hire newsletters are a great way to put your new team members in the spotlight by sharing some background information. This way, everyone in the company will know what role they have come to fill and have some introductory information to break the ice.
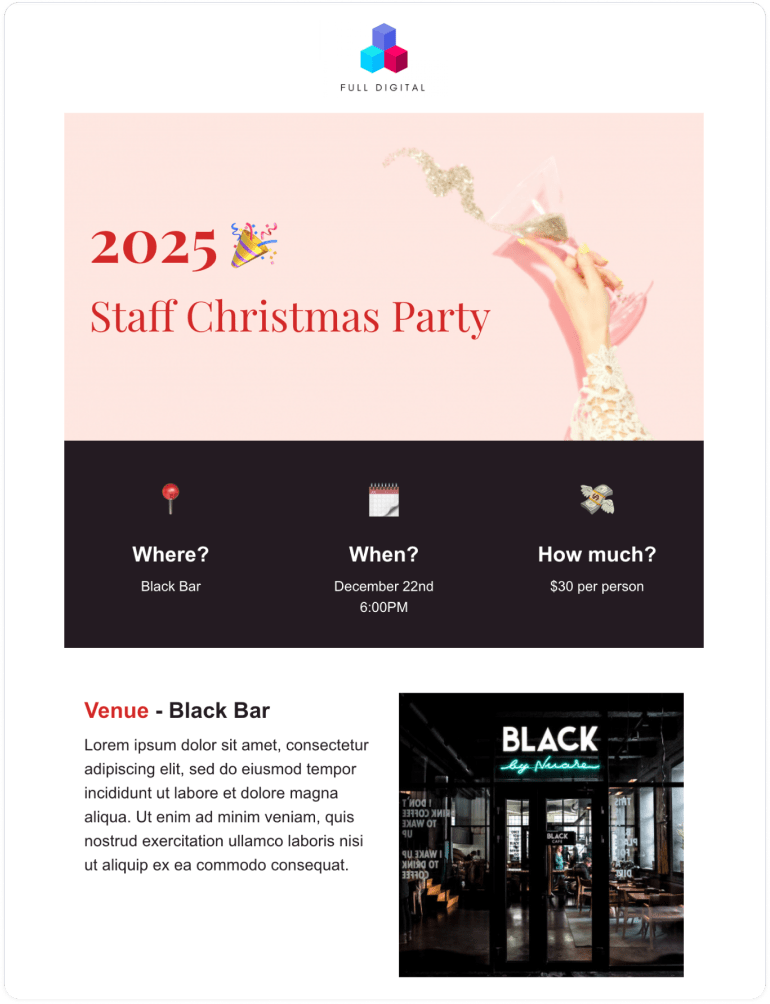
Hosting an event? Let everyone know by sharing the details via a newsletter. We love this design because the pertinent information appears right at the top, so if someone wants to just take a quick glance, they will still be able to understand all the necessary details.
Although it is possible to learn how to design a newsletter in Word, Word was built for word processing. Creating a newsletter with Word comes along with additional considerations to ensure that your saved HTML content will render across email clients.
If you’re looking for a more seamless experience, then you can leverage a newsletter email builder like Publicate. Publicate makes email building, designing, and sending easier than ever. Ready to try it for yourself? Your creations are waiting to be made.
What's Next?
Now you have plenty of ideas, its time to start creating your own newsletter. There's no better newsletter builder than Publicate. Try Publicate for Free!
Beautiful Designs
Powerful Analytics
Export Emails Anywhere
Built for Teamwork

