
Instant Film photography is tougher than you’d think; but in the hands of the right photographer it isn’t only a fun creative challenge but also a rewarding one. Believe it or not, working with Instant Film is in some ways like working with slide film. When shooting slide film, you’ve got to work as hard as you can to get the best image according to your own creative vision. There isn’t a whole lot of room for fixing in the darkroom later on. Similarly, with Instant film you’re working with a positive print and you’re not going to have any sort of wiggle room afterwards.
PS: We’re teaching photographers how to make the most of Instax Wide film in the studio later this month. Join us at our workshop.
It Starts With Your Camera
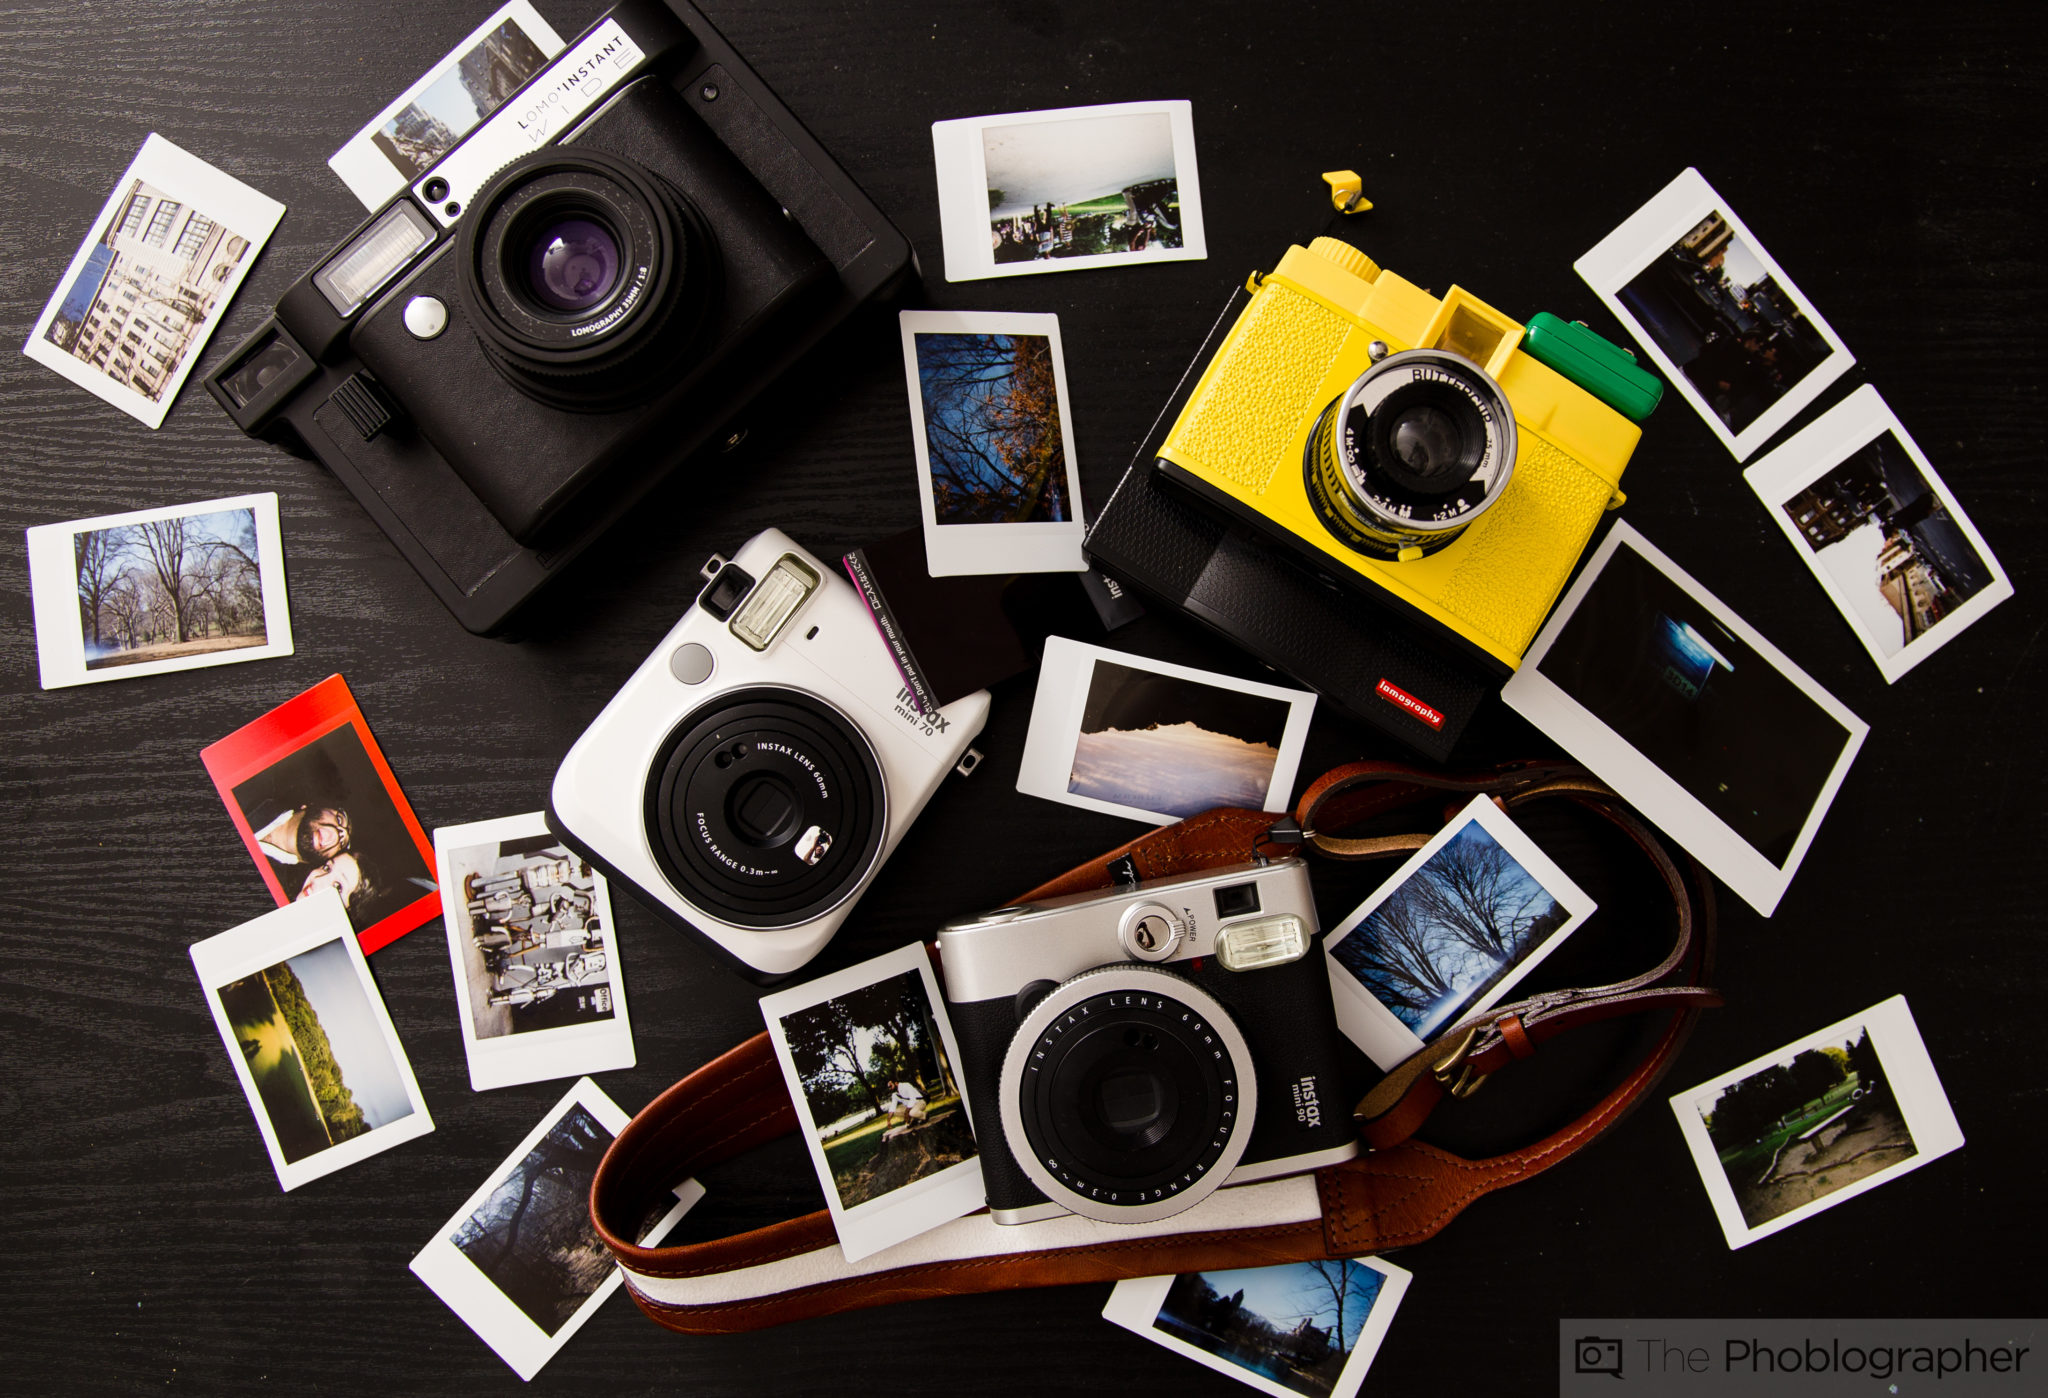
Most of the time, every photographer will tell you that nothing is about the gear. But in this case, it sometimes is because you need some sort of manual control over the exposures in order to get the absolute best photos possible. So what you need are some of the best cameras:
- Mint TL70 2.0 (Review): Takes Instax Mini film, has aperture control and exposure compensation
- Lomography Diana F+ (Review): Takes Instax Mini film. Aperture control, a fixed shutter. Pretty much perfect when combined with a glass lens.
- Lomography Lomo’Instant Wide (Review): Takes Instax Wide film. Has a fixed shutter mode.
- Mint Camera SLR670 with Time Machine (Review): Shutter speed control
- Impossible Project I-1 (Review): Full manual control when using the app
Of course, I should also mention the Polaroid 185, Polaroid 190 and other cameras that use peel apart film. But the problem is that peel apart film is all discontinued now.
Why do you need this much control from the camera? Because instant film can be expensive so you don’t get many chances to get it right. There is no fixing in post. Just in-camera.
Working With the Film

Modern instant film doesn’t have a whole lot of latitude and dynamic range. So you generally need to find a way to work with it. It’s really easy to blow out the highlights or completely kill the shadows. You’re often best using artificial lighting. But the best thing to do is to look at the scene and use a handheld light meter. Otherwise, use a digital camera and spot metering; then meter for the highlights, then the shadows and then the midtones.
The Most Control You Can Possibly Get
Videographers have this awesome method of lighting a scene involving adding one light at a time and seeing how it affects what’s about to be shot. With Instant Film, I want to highly encourage doing the same thing–and that’s why working in a studio is so perfect at times. You can eliminate all the light in the scene and figure out what’s going to work based on just the lighting that you create.
When working with natural lighting, that can really be pretty tough to do–much tougher than working in the studio.

All of this information is A MILLION TIMES easier to show and explain in person at our upcoming workshop in NYC. Sign up, it’s super affordable.